Voice Notes using Google Colab
Record an audio of your notes using whatever means. Most probably, you’d use a phone but any audio recording is fine.
Open this Google Colab notebook.
Make a copy of it.
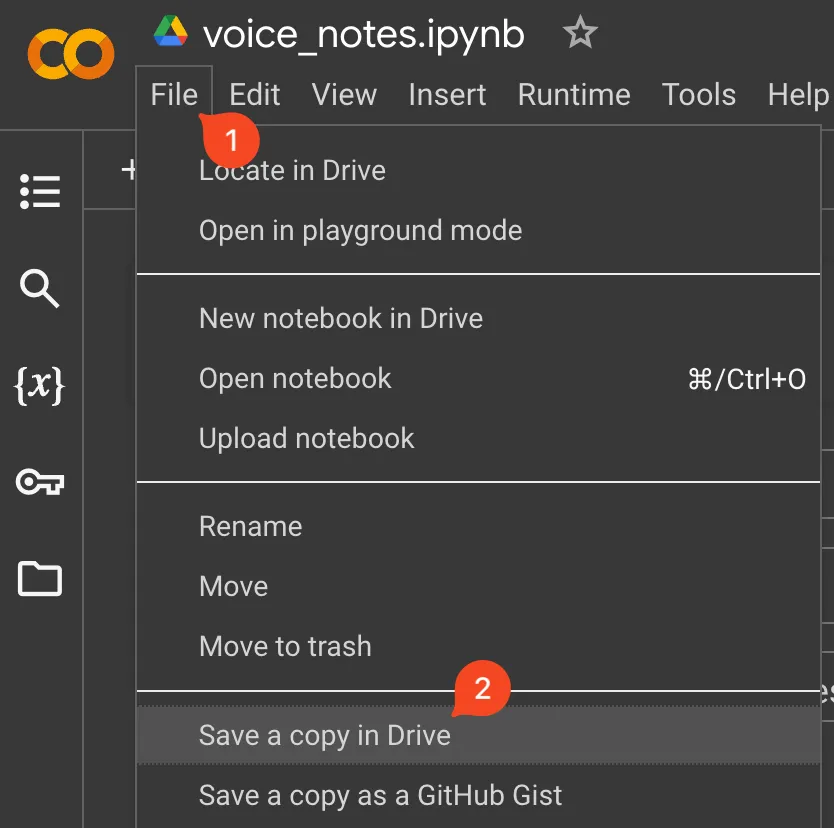
You now have your own copy.

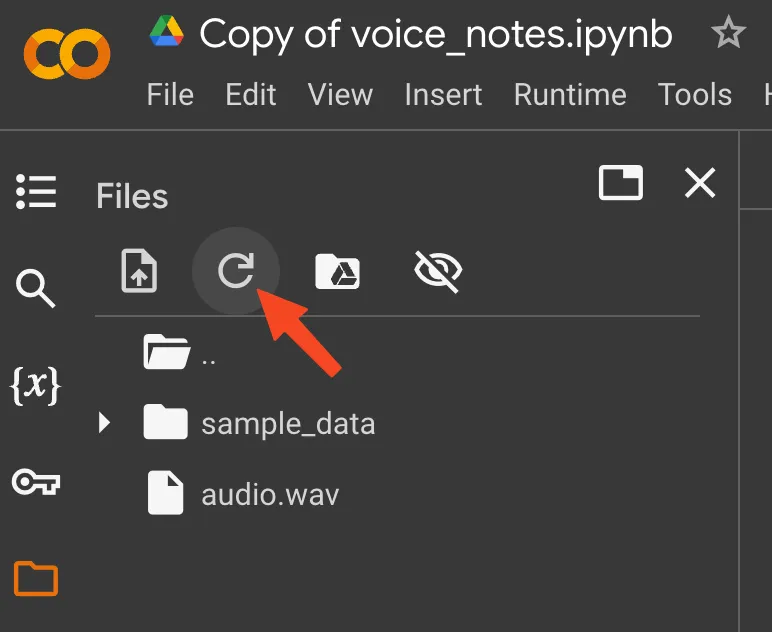
Click the folder icon, then upload.
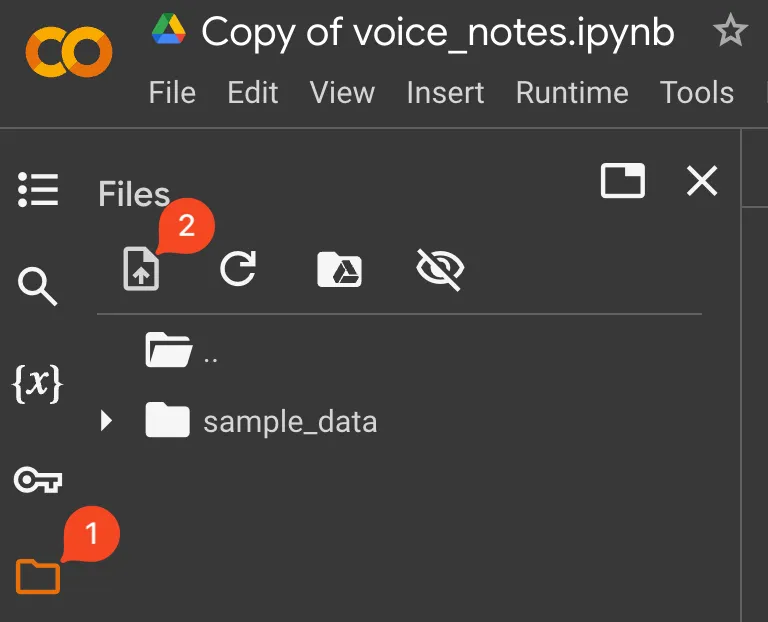
Find and upload your audio recording file. When you upload a file, you’d get this warning. Just click OK. This warning means that the file will not be saved for later and thus, you should have a copy of it.

On the bottom left, you’d see a spinning circle. Wait for it to finish.

Once finished, you’d see your file here.
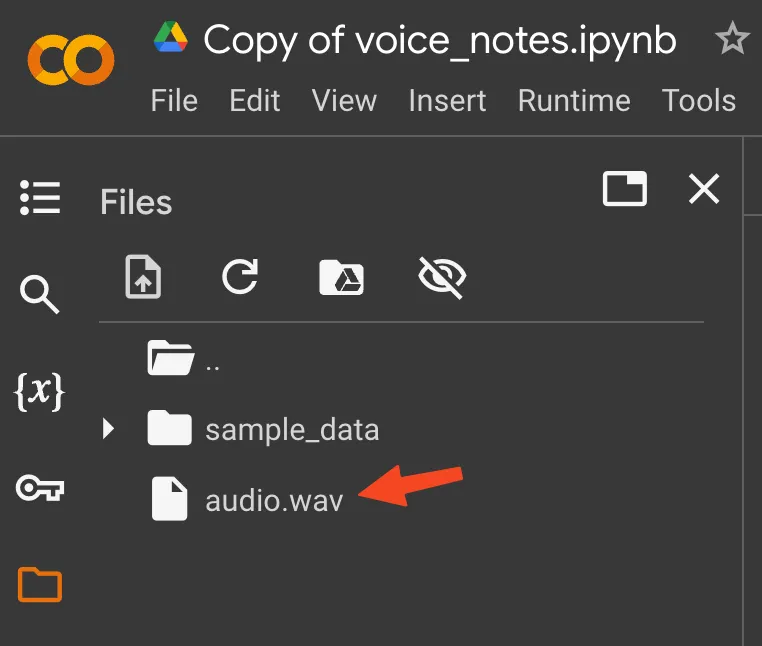
If not, try to refresh the list of files.
In the Variables Setup section, you’d see these three fields.
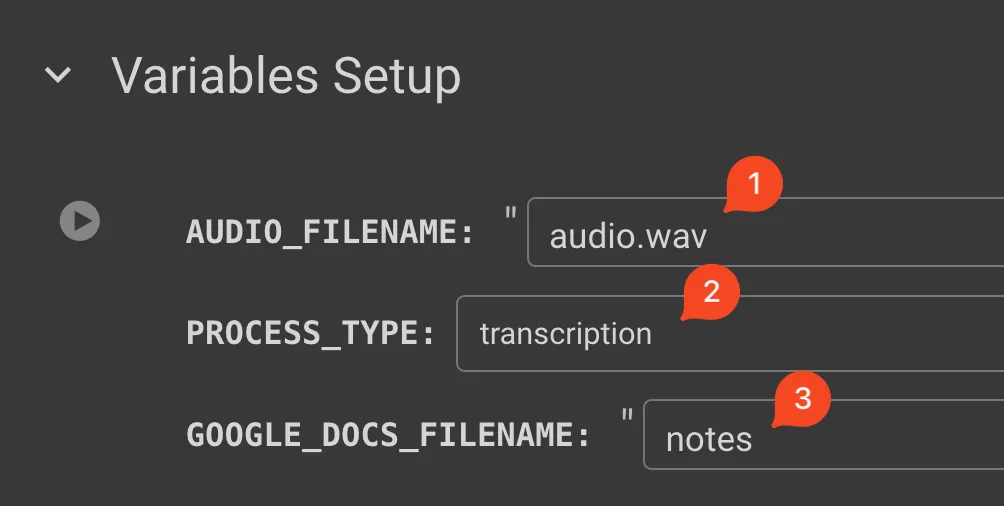
Update the AUDIO_FILENAME to the actual file name of your audio recording file. Take note to include the file extension. In this example, the file extension is wav.
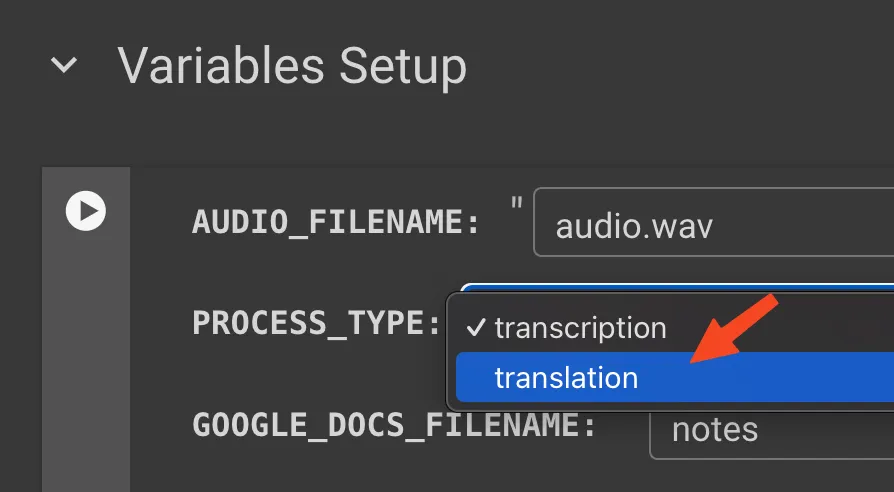
By default, the PROCESS_TYPE is transcription which is what we want for a voice note. This field is a dropdown. You can also select translation if you want to translate your recording to English.
The GOOGLE_DOCS_FILENAME will be the Google Docs filename that will be saved to your Google Drive. Change this to whatever file name you want.
To convert the audio to text, we will utilize an API. To get a Groq API key, follow this up to copying the key. Once you have copied an API key, go back here.
To know more about Groq’s API limits, check here. Look for whisper-large-v3 which is the model that we are using here.
Going back to Google Colab, to setup the API key, click the key icon on the left then click Add new secret.
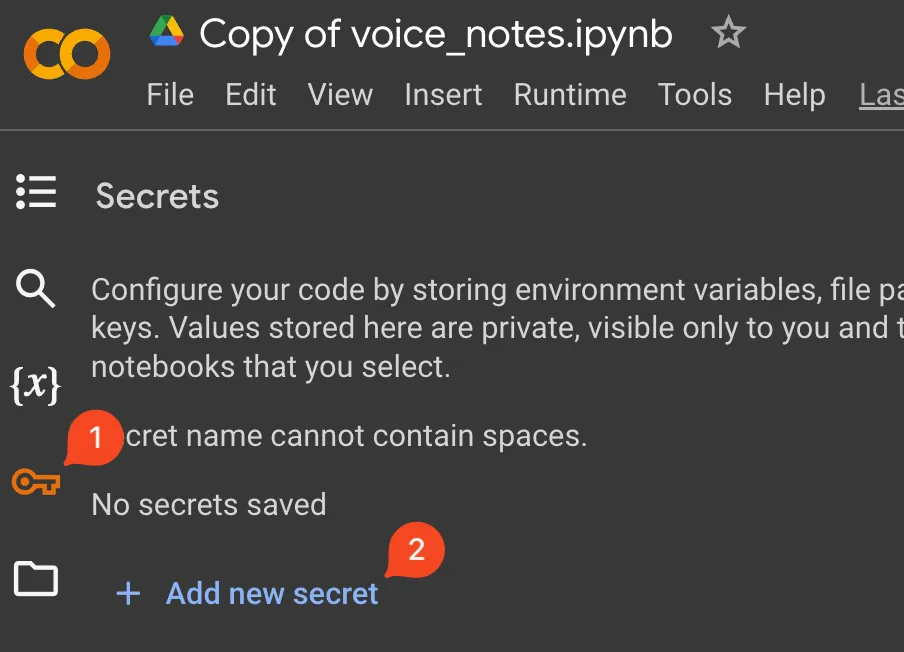
In the Name field, put GROQ_API_KEY and in the Value field, paste the API Key you copied.

Once everything is set, click Runtime then Run all.

You should see a spinning circle like this. This means that the program is running.
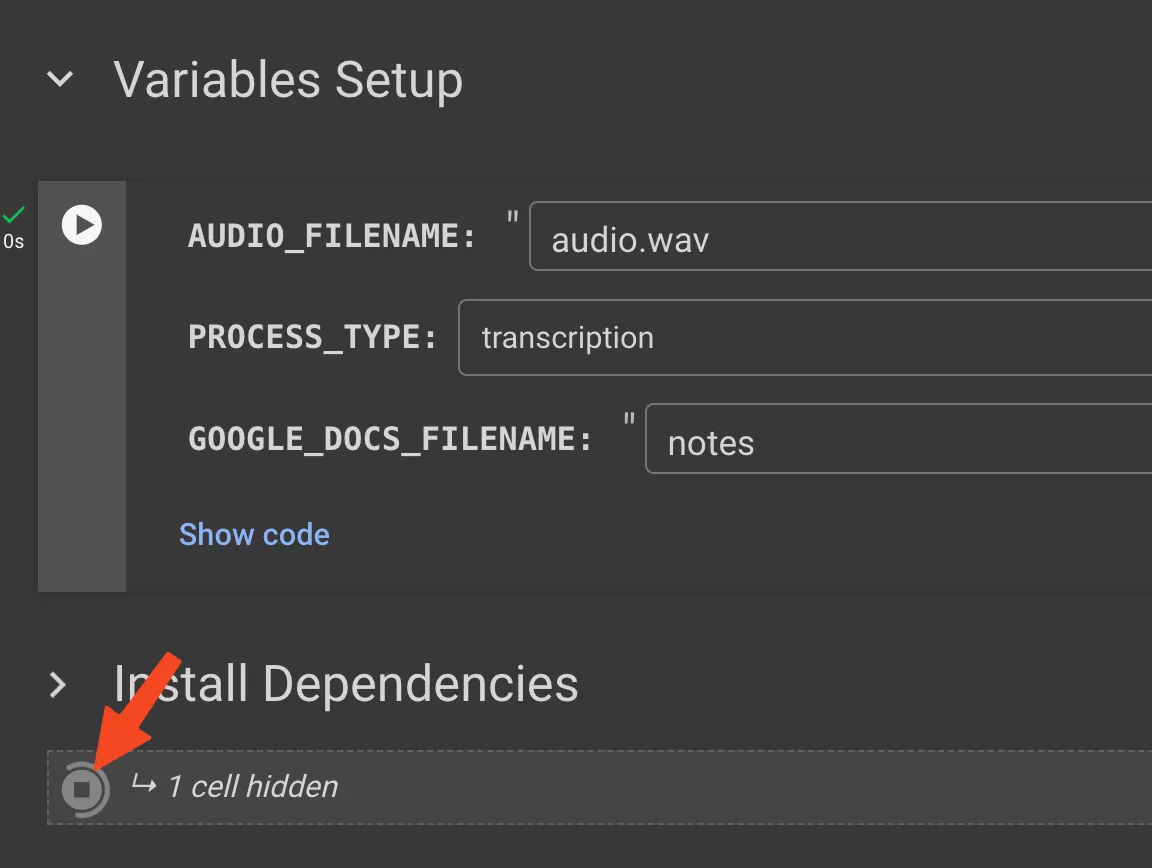
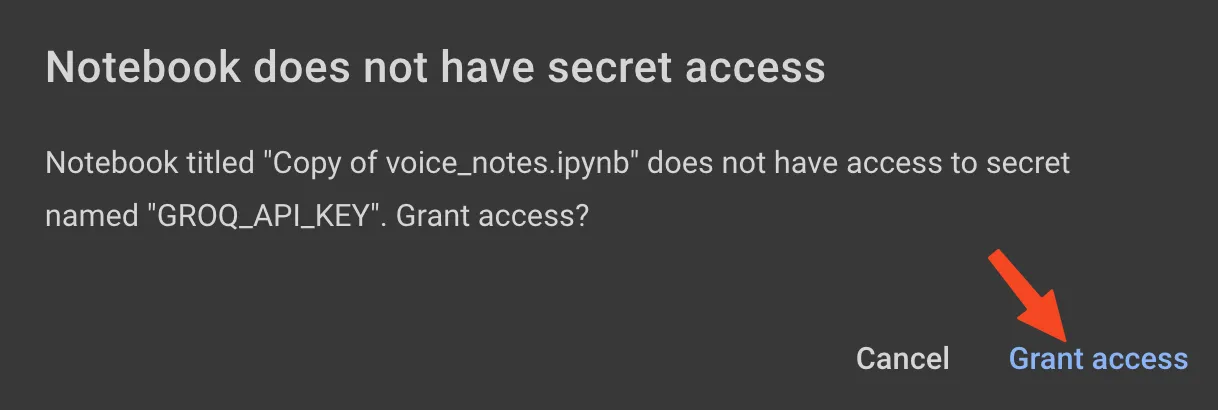
On your first run, you’d get this pop up. This is to have access for the secret key GROQ_API_KEY that we set up earlier.
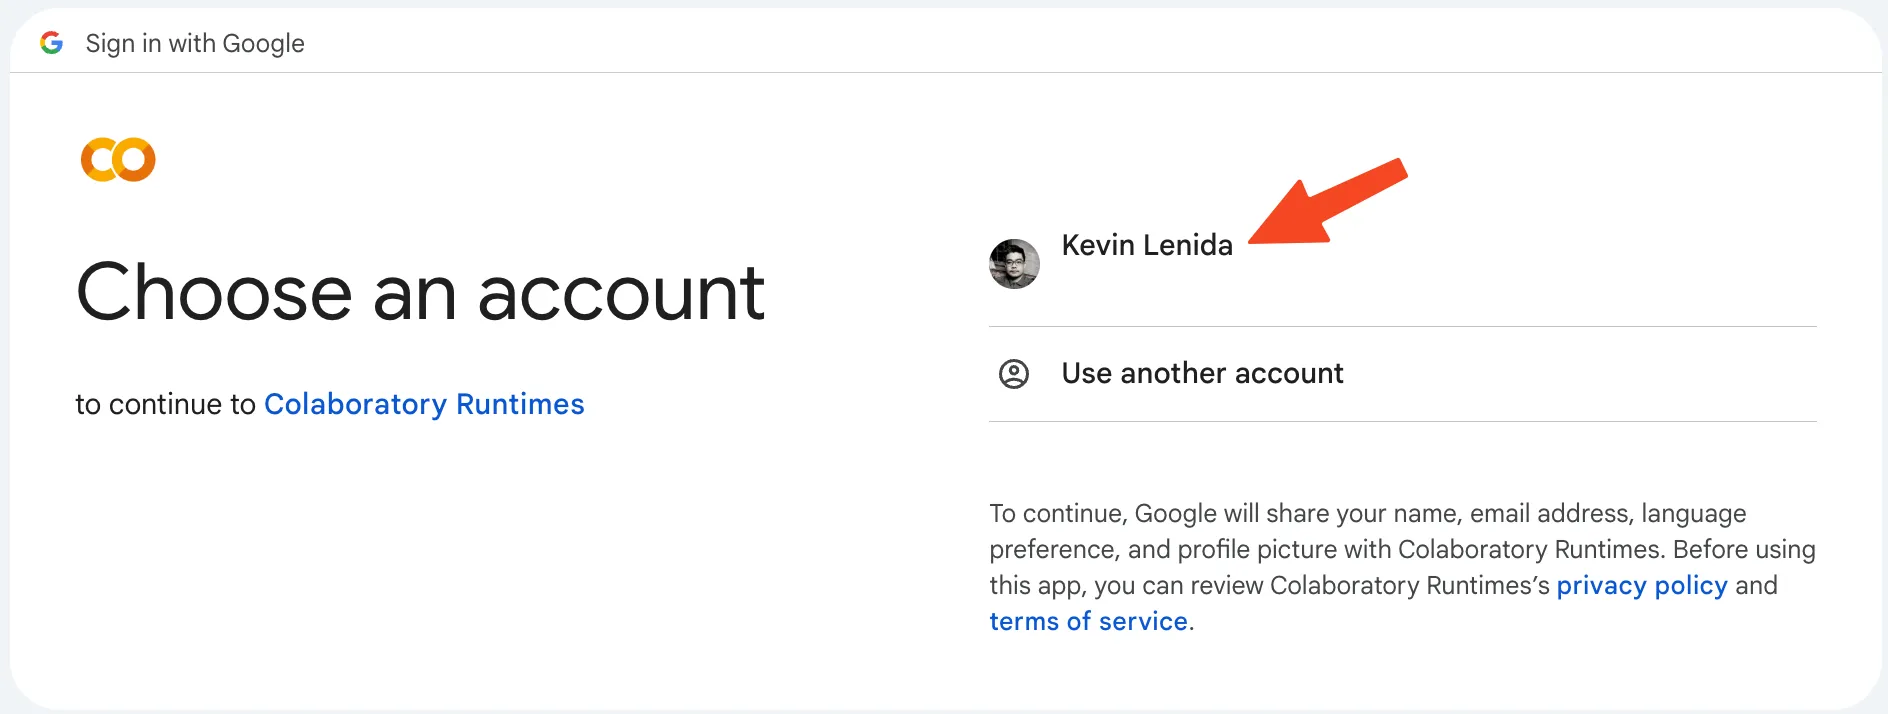
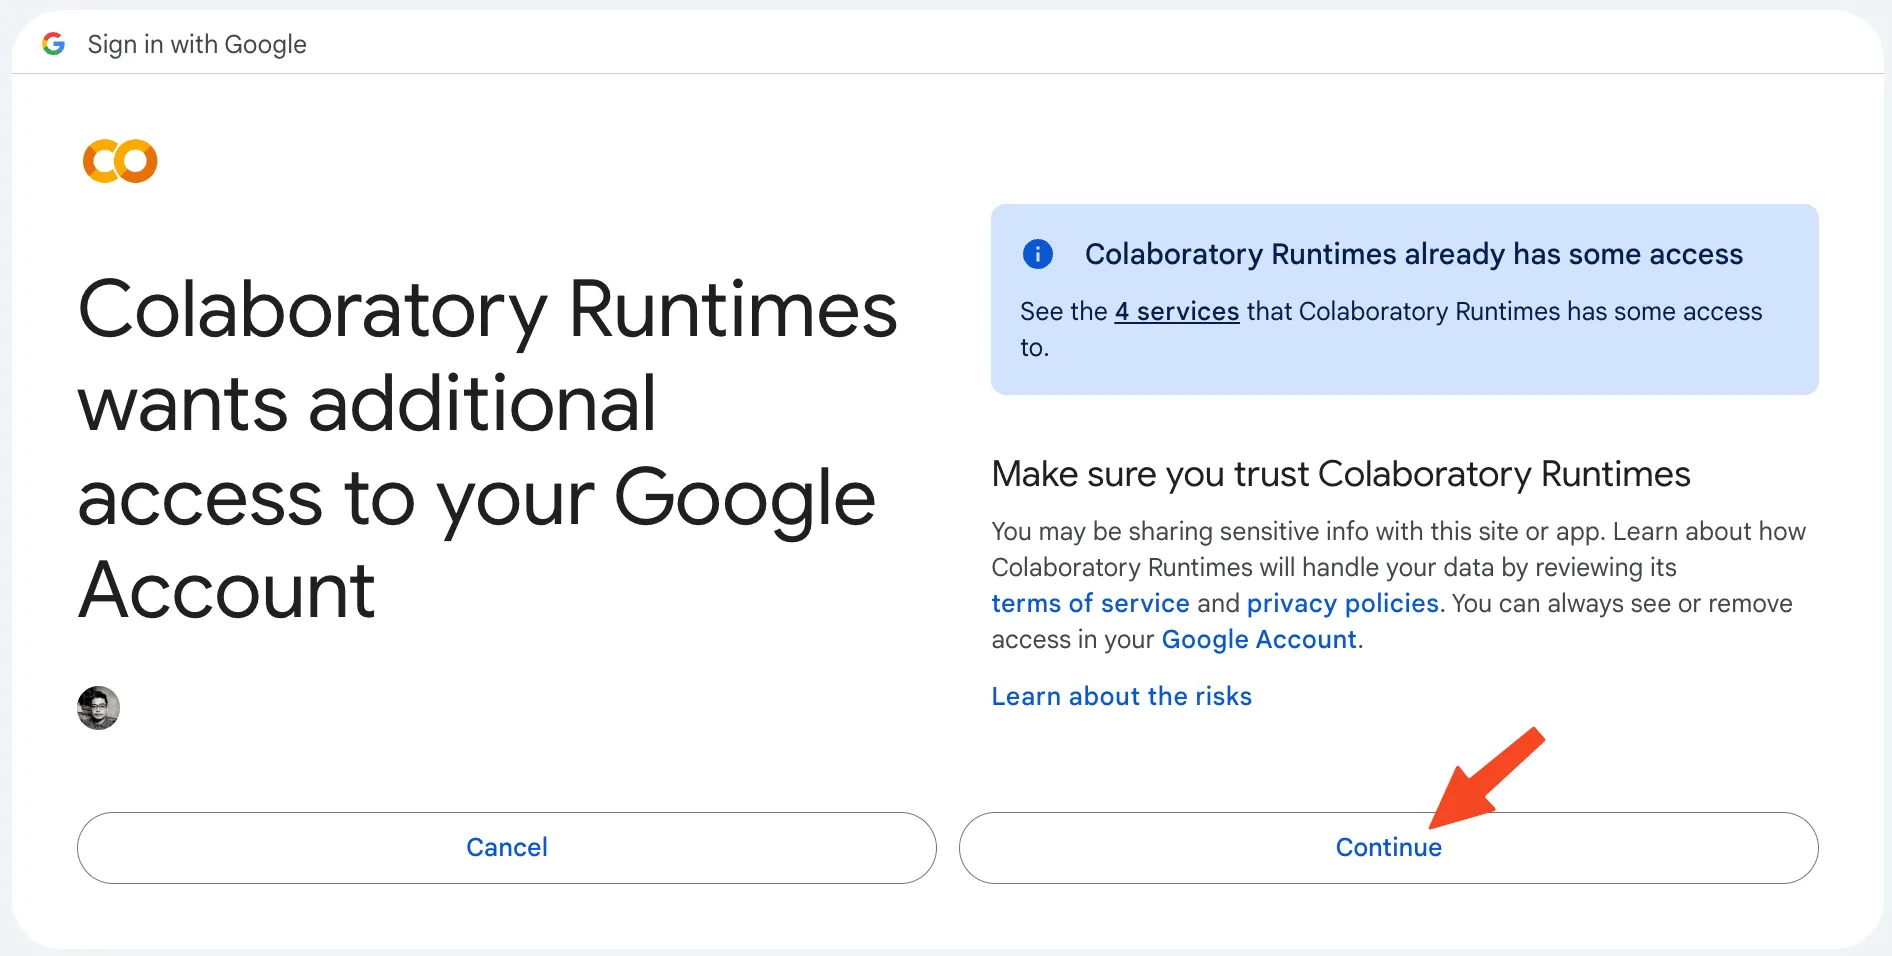
You also have to grant access for Google credentials. This is to grant access to your Google Drive and other necessary Google resources to run this program.

Login to your Google Account.
Continue.
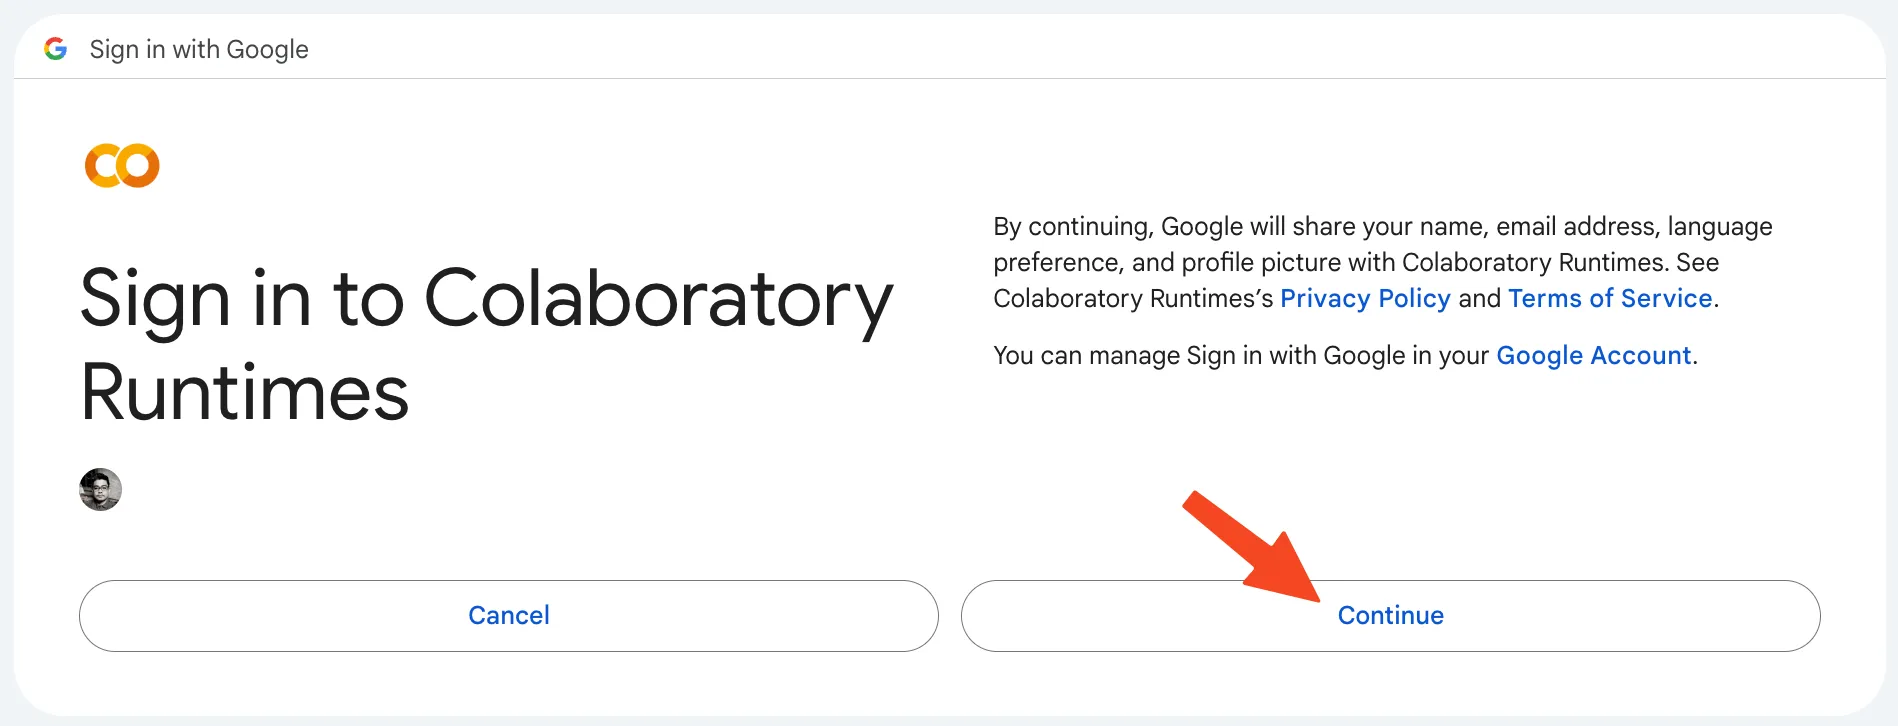
Take note that you can always read before continuing.
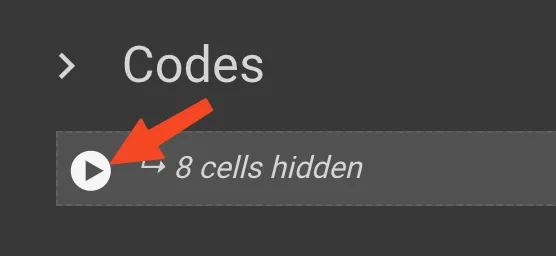
Once the spinning circle finished on the Codes section, the program has finished.
You’d also see a message at the bottom that it’s completed.

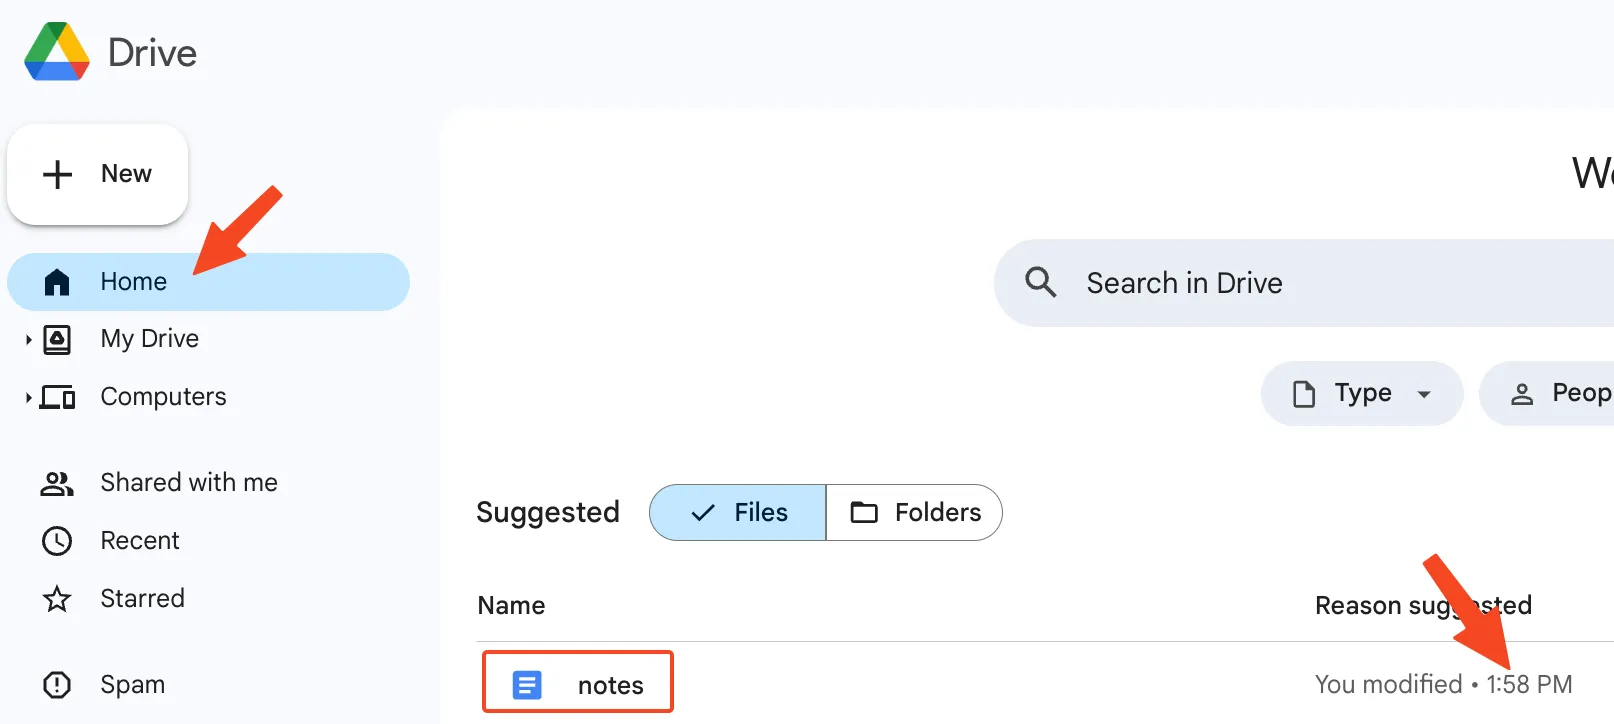
Open your Google Drive. You should see the new Google Docs that was created.
